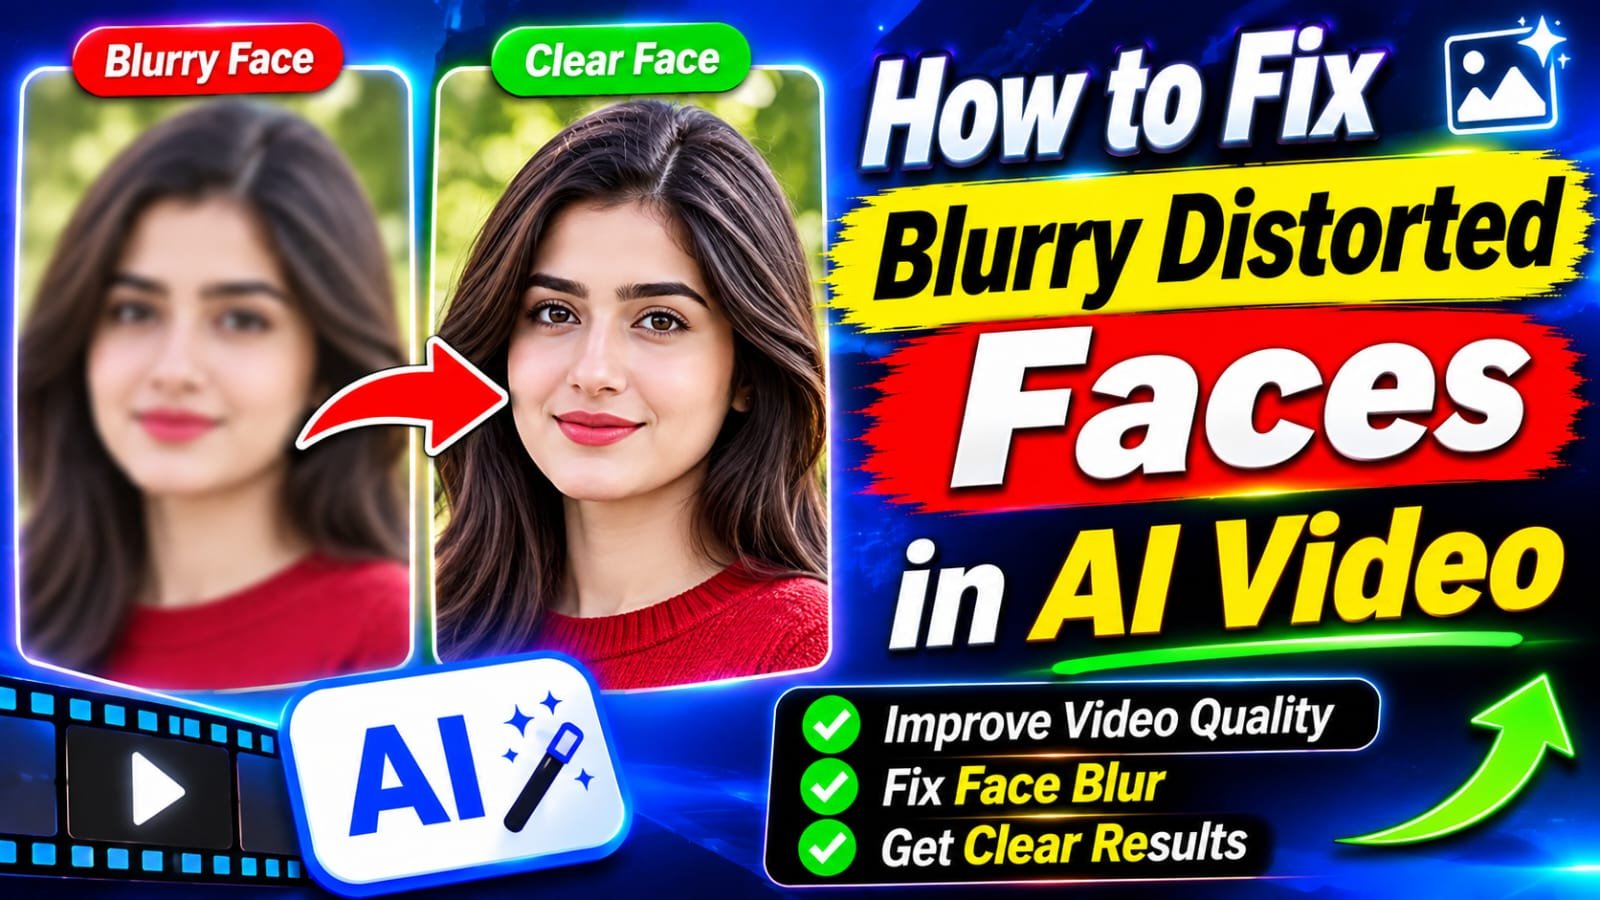
How to Fix Blurry Distorted Faces in AI Video
Most blurry or distorted faces in AI video come from three fixable causes, and each one has a specific repair. The model spends too few pixels on the face, reinterprets the prompt every frame, or loses track of motion and lighting. We treat all three with one workflow built in three layers.
Prevention at generation time comes first, then surgical repair of the face region, then restoration or upscaling of the finished clip. The steps serve two kinds of creators. One makes character videos and keeps getting melted eyes and shifting jawlines, and the other holds a finished clip whose faces look muddy.

Order matters, and most advice skips this part. An enhancer run on a face generated at too small a size sharpens the wrong pixels. So we fix the quality problem upstream whenever the clip can still be regenerated.
Before changing a single setting, decide whether the clip can be regenerated at all. That single answer decides which half of our steps applies to you.
Key Takeaways
- Framing fixes the pixel budget: a 50mm bust shot gives the face most of the frame.
- A clean reference image plus a repeated identity lock stops the face from drifting between shots.
- Short clips, one subject and one smooth camera move keep motion from breaking features.
- Inpainting repairs only the masked face and keeps the camera move, background and timing.
- Restoration at about 50% strength rebuilds eyes and mouth; upscaling adds no detail the pixels lack.
- Review every fix at normal playback speed, and test the hardest shot first on the next project.
Why Faces Blur and Warp in AI Video
A face that looks melted in your render was usually drawn with fewer than a few thousand pixels. That is roughly what a 50×50 square gives a face filling 5% of a 1024×1024 frame. Three separate mechanisms cause the damage, and each leaves a different fingerprint.
The first is the pixel budget: the share of a frame’s total pixels the model can spend on the face. A small face in a wide shot gets too few pixels to render eyes, teeth and skin, so the model improvises them. The second is memory, and the third is motion, angle and lighting the model cannot follow.

Too Few Pixels for the Face
The classic case is a full-body shot inside a cathedral. The building gets millions of pixels, the person gets a sliver, and the eyes become two dark smudges. No wording rescues that result, because a 50×50 grid is too coarse for pupils, eyelashes, nostrils or teeth.
Stable Diffusion users have a local remedy in Hires Fix. It renders a low-resolution pass to set the composition, then upscales while injecting new detail into small regions such as faces. The subject still needs enough of the frame for that detail to land.
Our brains detect facial asymmetry of about a millimeter, which is why one wrong eye ruins a frame that is otherwise fine.
Each Frame Is Re-Guessed From the Prompt
Video models do not recall the previous frame. Each frame is a fresh interpretation of the prompt, and slightly different readings of the same words give slightly different features. “A young woman with brown hair and a strong jawline” describes hundreds of people, and the model picks a new one each time.
This is identity drift. It rarely shows inside one still, because a single image needs only one guess. It shows across shots, when the character in scene two has a narrower nose than the one in scene one.
Motion, Angles, and Harsh Light Break the Face
A fast camera pan or an extreme low angle forces the model to invent views it never saw in training. Strong side shadows reshape the perceived nose and jaw, so the same person looks different when the light moves. Expression overload does the same: a character who laughs, cries, talks and turns in one clip hands the model four problems at once.
Footage shot on a real camera blurs for other reasons. A quick pan, shaky hands or a fast-moving subject causes motion blur, while missed focus, low resolution, digital zoom, compression and low light soften the whole frame. Those faults need enhancement tools, not prompt changes.
Count which of the three mechanisms matches your clip. A pixel-budget face needs tighter framing, a drifting face needs an identity anchor, and a motion-broken face needs a calmer shot.
Judge What a Fix Can Recover Before You Start
A fix can only sharpen what the frame already holds. A face eight pixels wide holds nothing a model can do more than guess at, so the output is an invented person. AI upscaling cannot recover details that the video never recorded.
Our test is simple: pause on a frame, zoom to actual pixels and count the face width. Below roughly 100 pixels across the face, the eyes and mouth are mostly invented. A clean 720p clip upscales to 4K well, while a heavily compressed 240p clip can show enlarged artifacts when pushed to 4K.

| Source condition | Realistic target | What to expect |
|---|---|---|
| Clean 720p face | 4K | Sharp detail |
| Heavily compressed 240p face | 1080p | Cleaner but soft; 4K enlarges blocks |
| Face under about 8 pixels wide | No honest target | The model invents a person |
| Interlaced camcorder footage | Deinterlace, then upscale | Comb lines stay without deinterlacing |
Interlaced VHS, Hi8 and MiniDV footage needs deinterlacing first, or the comb lines get enlarged along with the faces. Quality that was never captured cannot be bought back with a bigger output size. The honest target is the largest size that hides the source’s flaws instead of magnifying them.
The decision rule follows from the numbers. A generated clip whose prompt and references still exist is cheaper to regenerate than to restore. Recorded footage with no second take goes straight to enhancement, whatever its condition.
Save the frame you measured as a reference still. Every later comparison of the fix uses that image, so keep it at full resolution and uncompressed.
How to Fix Blurry Distorted Faces in AI Video With Better Prompts
Our first fix is to write the face before anything else in the prompt. We write it the way a casting director would: age, origin, face shape, eye shape and one small imperfection. A model weights early concepts most, so the description that comes first survives longest.
Replace “beautiful woman” with specific anatomy, because a vague compliment gives the model nothing to draw. “A 45-year-old Norwegian fisherman, oval face with defined jawline, almond-shaped brown eyes with symmetrical placement, straight nose” leaves far less room to improvise. Add light freckles or a small scar, since one deliberate flaw breaks the averaged “AI stare.”
Describe the Face Like a Casting Note
Skin pores and microscopic texture belong in the text too, along with a detailed iris with specular highlights. Those words push the model toward photographic detail instead of smooth plastic. The weak and strong descriptions below show the shift from adjective to anatomy.
| Prompt element | Weak example | Strong example |
|---|---|---|
| Face shape | “normal face” | “oval face with defined jawline” |
| Eyes | “nice eyes” | “almond-shaped brown eyes, symmetrical placement” |
| Lighting | “good lighting” | “soft front lighting, minimal shadows” |
| Angle | “looking at camera” | “direct eye-level frontal view” |
| Framing | “a man in a room” | “50mm bust shot, face fills most of the frame” |
Set Camera Angle and Lighting in Words
Frontal and slight three-quarter views at eye level produce cleaner results than extreme low or high angles. Framing keywords such as Extreme Close-Up, Macro Portrait or 50mm Bust Shot force the model to spend most of the frame on the features. A static or slow camera keeps the angle from changing mid-clip.
Lighting goes in words as well. Soft, diffused front light with minimal shadows across the eyes and mouth prevents the shadow artifacts that reshape a nose or jaw. We write the lighting line right after the angle line in every scene.
Negative Prompts and Style Parameters
The negative prompt lists what the model must avoid. Our standard string is “asymmetry, mutated, deformed, extra limbs, poorly drawn eyes, crossed eyes, plastic skin, waxy skin, bad proportions, cloned face, missing facial features.” On Midjourney, the –style raw parameter reduces the default beautification so pores and natural lighting from the prompt take precedence.
One quiet mistake undoes all of this. Adding “more cinematic” or “more beautiful” to a later scene reshapes the character, because the model treats the new adjective as an instruction about the person. Keep the sentence order identical across every scene’s prompts, since the model reads a reshuffled description as a new person.
Lock Identity With Reference Images
A text description can match hundreds of people. The reliable anchor is a clean reference image the model treats as a constraint rather than a suggestion. Midjourney’s –cref parameter maps the facial structure of a referenced photo onto the new generation.
A good reference image is readable, not dramatic: balanced lighting, visible eyes, no half-face shadow and no heavy filter. A cinematic half-lit portrait is a poor anchor because the model has to guess the shadowed half. A front view, a three-quarter view and a side view together give enough information to hold the character during movement.
Tools differ in how much they accept. Kling 4.0’s Omni Reference supports up to 15 combined reference assets, including images, videos and Elements. Midjourney’s –cw value sets how strictly –cref is followed, higher to copy face, hair and clothing, lower to keep only the features.
Higgsfield’s Soul ID goes further and trains a persistent identity from 20 photos of a person in about five to ten minutes. The identity lock is the text half of the anchor. It repeats word for word in every scene prompt, before the action, camera and lighting lines, and names these items:
- Face shape and jawline
- Eye shape and color
- Nose and mouth
- Skin tone
- Hairstyle and length
- Expression style, then the line “do not change the face, age, hairstyle or identity”
Anime characters need a different lock. It protects eye design, hair silhouette and line-art style, and it forbids making the face more realistic. A location reference image alongside the character reference stops the background from warping too.
Swapping reference photos between scenes resets the identity, so the set never changes mid-project and consistency survives. Store the reference images and the identity lock text in one folder per character. That pair gets reused for every scene and every regeneration.
Control Motion, Scene Load, and Clip Length
A face holds together when the model has one problem to solve per clip. In practice that means a few seconds, one subject, one smooth camera move and one change between shots. Identity drift and repeated expressions appear past about 30 seconds even on strong models.
Generate short and chain: clips of 2-3 seconds for a face test hold identity far better than one long shot. Seedance 2.0 accepts first-and-last-frame inputs, so the last frame of one clip anchors the first frame of the next. The movement stays continuous while each segment stays simple.
Six controls cover most scene load problems:
- Keep clips short and chain them with the last frame as the next first frame.
- Change one variable between shots: new setting with the same angle, or new angle with the same setting, never both plus new lighting.
- Use single-direction camera moves, with no fast orbits or spins.
- Put one subject in frame at a time and let the camera pan to the second.
- Describe actions by start and end body positions instead of a verb like “running.”
- Keep lettering out of the shot, or limit any text to one short word.
A prompt with two people talking while others pass behind them produces merged bodies and swapped faces far more often than one person with a slow pan. We add motion in a fixed progression. Blink and breathing come first, a slow push-in second, a slight head turn third, and only then a full turn or speech.
A film-style wide shot with several elements is the exception. It works when the main character stands in the foreground and the other people stay out of focus or out of frame. Build energy with cuts in the edit rather than camera chaos inside the clip, because an edit costs nothing and a spinning camera costs the face.
Repair Only the Face With Inpainting
When the camera move, background and timing are right and only the face is wrong, we regenerate the face region alone. Rolling the whole clip again risks losing a composition that already works. Inpainting means regenerating only a masked region of a frame or clip.
The mask stays tight around the face: include hair or background and the model fills them with something new. The original High-Resolution Image Synthesis paper from CVPR 2022 reported strong inpainting results for latent diffusion, the method behind Stable Diffusion. That research is why a masked region can blend into pixels the model never touched.
Still-Frame Inpainting in Midjourney and Stable Diffusion
Midjourney’s Vary (Region) tool redraws only a lasso-masked area after you upscale the image with U1-U4. Stable Diffusion’s inpainting tab does the same job on your own machine. Our five steps are identical in both:
- Export the bad frames from the clip.
- Draw a tight lasso mask around the face only.
- Replace the long prompt with a face-only prompt such as “A highly detailed face, symmetrical eyes, perfect anatomical proportions, sharp focus, 8k resolution.”
- Keep identical parameters on adjacent frames so corrected and original frames do not jump.
- Reimport the frames and check the join at the cut.
We work in two passes for control. Big distortions such as a missing eye go first, and subtle asymmetry gets a second, gentler pass. One pass that tries both usually overcorrects the eye and leaves the asymmetry.
Clip-Level Face Repair in Kling 4.0
Kling 4.0 repairs a whole video rather than single frames. Its editing supports up to five input clips, including one primary video, with a combined duration of up to 30 seconds. The original clip guides movement, composition and camera timing, while reference images guide visual details such as facial features.
The face-repair prompt lists everything to preserve before it names what to change. Kling’s suggested version tells the model to keep head movements, expressions, gestures, camera position, timing, clothing, lighting, background and framing. Only after that list does it ask for the features from the reference.
One trap most guides skip is lighting direction. A face inpainted with light from the left in a shot lit from the right comes out sharp and clearly pasted on. Match the light in the face-only prompt to the shot around it.
Compare the repaired clip with the neighboring shots once more under the one-variable rule. A repaired face that is sharper than the rest of the sequence reads as a cut to a different actor.
Face Restoration Models for Rendered Footage
Restoration models unblur a face by redrawing it from learned anatomy. That is why they turn a 30-pixel smear into crisp eyes, and why they sometimes add glasses nobody wore. GFPGAN, developed by Tencent ARC, detects faces in a frame and reconstructs eyes, nose and mouth from what it learned.
Start at about 50% restoration strength, because maximum strength over-smooths skin into plastic. CodeFormer redraws features more aggressively toward photorealism and sits in the Extras tab of the Automatic1111 Stable Diffusion interface. Photoshop Generative Fill repairs a single lasso-selected feature, such as one pupil or the teeth, with a short prompt like “realistic eye looking forward.”
The frame workflow is the same for every tool. Burst the clip into frames with ffmpeg, run the restoration with 2x background upscale, and reassemble at the original frame rate. Restoration runs before color grading, since it shifts color values slightly.
The three methods split by symptom. Restoration suits mild to moderate distortion and texture, inpainting suits one stubborn spot, and upscaling alone suits softness without anatomical errors. Picking the wrong tool wastes credits on a fault it cannot see.
The honest limit is identity. A restored face is one plausible person who could have produced the degraded pixels, not a recovery of the real one. That makes it unfit for identification, and it can quietly change a character’s features.
GFPGAN output can carry hallucinated details: gridded hair placement, invented glasses or a changed eye color. Faces also revert to the original when the subject turns away, because the model favors forward-facing views. Stylized or anime work is a “when not to,” since CodeFormer pushes toward photographic skin and breaks the art style.
Compare the restored face to the reference still from the measuring step. Lower the strength whenever a mole, scar or eye color has changed, since quality means the same person, not just a sharper one.
Which Upscalers and Enhancers Sharpen a Finished Clip?
For creators who enhance clips every week, Topaz Video is our pick for removing blur from a video. It bundles Motion Deblur, denoising and more than 20 models in one local app. Editors already cutting in DaVinci Resolve get SuperScale inside their timeline, and one-off users on a weak laptop do better with a browser tool.
Run a denoise pass first and an upscale pass second, since upscaling noise only enlarges it. That order holds in every tool below and at every quality level. For a compressed low-resolution source, we stop at 1080p rather than 4K.
| Tool | Runs where | Price or plan | Best for | Limit |
|---|---|---|---|---|
| Topaz Video | Local or cloud | $299/year or $59/month | 20+ models and Motion Deblur | 25 cloud credits a month that expire |
| DaVinci Resolve (free) | Local | Free | Finishing up to 3840 x 2160 at 60 fps | No SuperScale or UltraNR |
| DaVinci Resolve Studio | Local | Paid license | SuperScale and UltraNR up to 32K and 120 fps | Needs a capable GPU |
| VideoUpscaler | Cloud | From $29.90/month for 1,000 credits | 1 credit/second at 1080P up to 3 at 4K | 500 MB upload cap, watermarked free results |
| UnblurImage.AI | Cloud | Upload, process, preview flow | Quick single clips | No manual model control |
Desktop Apps: Topaz Video and DaVinci Resolve
Topaz Video includes more than 20 AI models for upscaling, denoising, sharpening, stabilization, slow motion and frame interpolation. Personal use lists at $299 a year or $59 a month in 2026. Local rendering keeps files on your computer, while cloud rendering uses Cloud Credits.
Personal plans include 25 monthly video cloud credits, and they expire at month’s end without rolling over. For comparison, 1,000 VideoUpscaler credits cover about 333 seconds at 4K or 1,000 seconds at 1080P. Plan the month’s videos before the credits reset.
DaVinci Resolve Studio adds AI UltraNR noise reduction and SuperScale uprezzing. Its temporal and AI spatial noise reduction work independently or together, which lets you denoise lightly before SuperScale. The free Resolve edits and finishes at up to 60 fps and 3840 x 2160, and the Studio license goes to 120 fps and 32K.
Browser Tools: VideoUpscaler and UnblurImage.AI
VideoUpscaler runs on cloud GPUs, so the device in front of you makes no difference. It accepts uploads up to 500 MB in MP4, MOV, MKV, WebM or M4V, and charges 1 credit per second at 1080P, 2 at 2K and 3 at 4K. New accounts get 10 free credits, and free results carry a watermark.
UnblurImage.AI is simpler still: upload a video, let it process automatically, preview the result and download. The trade is control, because no manual model choice exists in that workflow. Export at the clip’s original frame rate and a bitrate at least as high as the source, since a heavily compressed export undoes the sharpening you just paid for.
Review Every Fix at Normal Playback Speed
Play the fixed clip at normal speed before you look at a single frame, because flicker and shimmer exist only in motion. Kling 4.0’s guide recommends reviewing enhanced video at normal playback speed for flickering textures, shimmering edges and details that shift between frames. We stop for a checkpoint every 30 seconds of generated or enhanced footage.
A frame-by-frame review hides temporal faults, because every single frame can look fine while the sequence crawls. So the first pass is always at full speed with sound off. Audio pulls attention toward timing and away from the image.
Five checks run at normal speed:
- Flickering skin texture across the cheeks and forehead.
- Shimmering edges along hair and jawline.
- A feature such as eye color or a mole that moves between frames.
- A face that pops between sharp and soft when the head turns.
- A background that went soft or painterly while the face sharpened.
The fourth check catches interframe jitter from frame-by-frame restoration, and the fifth catches an upscaler that treated the background as texture. The identity check comes last. Play the clip beside the reference image and ask whether a stranger would know it is the same character without being told.
Consistency fails when that answer takes more than a second. Where a clip fails one check in one short stretch, cut around it or regenerate that stretch. Reprocessing the whole clip at a stronger setting trades one quality fault for several.
Production Habits That Prevent the Next Bad Face
The cheapest face fix is the one you never have to make. In our projects that starts with generating the hardest shot before anything else. Multi-character close-ups and physical interaction accumulate the most distortion, so they get tested first.
AI video output is non-deterministic, so identical prompts give different faces on every run. The working rule: if five to ten runs produce nothing usable, the prompt is the problem, not the tool. Motion tests run at 480p or 720p before a final render in HD.
Five habits cut rework on the next project:
- Test the hardest shot first, the one with two characters or fast action, before generating the sequence.
- Run 5-10 generations of a key shot and keep the one with the best face, even if another element is weaker.
- Draft at 480p or 720p to lock face and motion, then render final quality.
- Keep raw outputs separate from corrected files so a bad fix can be redone with other settings.
- Save every prompt that produced a clean face in a library tagged by age group, angle and lighting.
Starting with the easiest shot wastes the most time, because the failure shows up after most of the work is done.
The library pays off at generation time, when a shot type repeats and the proven prompt loads in seconds. Date every prompt in it with the model version it worked on. A prompt that gave clean faces on one release can drift on the next, and the date tells you which problems came from an update.
Conclusion
A stable face in AI video is a production decision made before the first frame renders, not a filter applied after. At generation, a tight frame, a casting-note prompt and a locked reference protect it. In finished footage, restoration or upscaling rebuilds it only as far as its pixels allow.
Those two rules settle almost every bad face we meet, from a drifting jawline to a muddy close-up after motion. The method only works when you apply it to a real clip, so start with the worst one in your current project. Pause on a frame and measure the face width.
Then either regenerate the shot with the identity lock or run it through a restoration pass at half strength. Measure one face tonight, pick the branch it belongs to, and fix that clip before you generate another.
FAQ
Can AI make a video look better?
Yes, Fix Blurry Distorted Faces in AI Video techniques can improve noise, softness, and mild motion blur through denoising, sharpening, and upscaling. The Fix Blurry Distorted Faces in AI Video process works best when the original footage has enough facial details. A clean 720p clip usually improves more than a compressed 240p video. For better results, use Fix Blurry Distorted Faces in AI Video tools that preserve natural skin texture, eyes, and facial expressions. These Fix Blurry Distorted Faces in AI Video methods can make faces look clearer without unnecessarily changing their appearance.
Why is my AI photo blurry?
A limited pixel budget is usually the main reason for blurry AI photos. When a face occupies only 5% of a 1024×1024 image, the model has very few pixels to create eyelashes, teeth, and skin details. To improve Fix Blurry Distorted Faces in AI Video results, use tighter framing, such as a bust shot, or try Hires Fix in Stable Diffusion. Better source images can also improve Fix Blurry Distorted Faces in AI Video quality. Using proper framing is an important part of Fix Blurry Distorted Faces in AI Video because it gives the AI more facial information to process.
How to get rid of AI blur?
For Fix Blurry Distorted Faces in AI Video, start by regenerating the clip with the face clearly described in the prompt and a reference image attached. If you already have a finished video, apply denoising first, upscaling second, and face restoration at around 50% strength when facial features look warped. This Fix Blurry Distorted Faces in AI Video method helps prevent the enhancer from sharpening unwanted noise. Following the correct Fix Blurry Distorted Faces in AI Video steps can protect natural facial proportions. Repeat the Fix Blurry Distorted Faces in AI Video process with different restoration strengths until the face looks realistic.
Can AI fix a blurred video?
Yes, AI can partially improve blurred footage. Fix Blurry Distorted Faces in AI Video tools work better when faces are around 100 pixels wide or larger because the eyes and mouth remain recognizable. If a face is smaller than approximately 8 pixels, Fix Blurry Distorted Faces in AI Video software may invent facial details instead of recovering the original appearance. Motion blur from camera movement can also respond well to Fix Blurry Distorted Faces in AI Video techniques because the software can analyze smeared edges. For the best Fix Blurry Distorted Faces in AI Video outcome, use a clear reference image and avoid excessive sharpening.
Is there a free AI blur remover available?
Yes, several free tools can help with Fix Blurry Distorted Faces in AI Video. GFPGAN and CodeFormer are open-source face restoration tools that can run locally, while CodeFormer is also available through the Automatic1111 interface. DaVinci Resolve offers free video editing up to 3840 x 2160 at 60 fps, although SuperScale and UltraNR are not included in the free version. These tools provide useful options for Fix Blurry Distorted Faces in AI Video without immediately paying for premium software. You can compare different Fix Blurry Distorted Faces in AI Video tools to find the right restoration option. Testing free Fix Blurry Distorted Faces in AI Video software before purchasing a subscription can also help you choose wisely.
How can I unblur an image without using AI?
You can use an unsharp mask or a high-pass sharpening layer in a photo editor. Both techniques increase edge contrast and can improve slightly soft images. For Fix Blurry Distorted Faces in AI Video, traditional sharpening can help when facial details are mildly blurred, but it cannot recover information that was never captured. An eight-pixel face will remain extremely limited even after sharpening. Use a low radius and check the image at 100% zoom to avoid bright halos around the jawline and eyes.
Why do AI-generated faces look distorted in videos?
Fix Blurry Distorted Faces in AI Video problems often happen because AI models struggle to maintain facial consistency between frames. Changes in lighting, camera angles, and facial movements can create distorted eyes, uneven skin textures, or unnatural expressions. Using Fix Blurry Distorted Faces in AI Video techniques with clear reference images can improve facial consistency and produce more realistic results.
How can I improve facial details in AI-generated videos?
To achieve better Fix Blurry Distorted Faces in AI Video results, use high-quality reference images, detailed prompts, and suitable resolution settings. Face enhancement tools can also sharpen eyes, lips, and skin textures. Combining these Fix Blurry Distorted Faces in AI Video methods helps create clearer facial details without excessive artificial sharpening.
Why do faces change between AI video frames?
AI-generated faces may change because the model does not perfectly preserve identity during motion. For Fix Blurry Distorted Faces in AI Video, use consistent character references and avoid extreme camera movements. These Fix Blurry Distorted Faces in AI Video techniques can reduce identity changes and help maintain more stable facial features.
Can upscaling fix distorted faces in AI videos?
Upscaling can improve the appearance of low-resolution faces, but it cannot guarantee accurate facial reconstruction. A good Fix Blurry Distorted Faces in AI Video workflow combines upscaling with face restoration and careful sharpening. Using Fix Blurry Distorted Faces in AI Video tools at moderate settings can improve clarity while reducing artificial facial details.
Which settings help prevent blurry AI faces?
For better Fix Blurry Distorted Faces in AI Video results, choose a higher output resolution, maintain a suitable frame rate, and avoid excessive compression. Use clear reference images and balanced guidance settings. These Fix Blurry Distorted Faces in AI Video adjustments can help preserve facial details throughout the generation and export process.
Does video compression make AI faces look blurry?
Yes, heavy compression can remove fine facial details and create visible artifacts. When applying Fix Blurry Distorted Faces in AI Video, export with a suitable bitrate and avoid repeatedly compressing the same footage. A high-quality master file makes Fix Blurry Distorted Faces in AI Video improvements easier and helps preserve natural skin textures.
Can face restoration tools fix unnatural eyes and mouths?
Face restoration tools can improve slightly distorted eyes, lips, and other facial features. However, Fix Blurry Distorted Faces in AI Video software may generate inaccurate details when the original face is severely damaged.
Why do AI faces become blurry during movement?
Fast movements, changing camera angles, and motion blur can make facial details difficult to maintain. A useful Fix Blurry Distorted Faces in AI Video approach is to reduce excessive movement and use stable reference images. Applying Fix Blurry Distorted Faces in AI Video restoration after generation can also improve facial clarity across moving frames.
1 thought on “7 Proven Easy Ways to Fix Blurry Distorted Faces in AI Video”